Kids Bike Size Chart
Find the perfect bike size for your child. The right fit means more confidence, better control, and safer riding.
Try Our Bike Size CalculatorKids Bike Essentials
Getting the Right Bike Size
Kids bike sizes are measured by wheel diameter, not frame size like adult bikes. The right size depends on your child's height and inseam - not their age. A properly sized bike builds confidence and makes learning to ride much easier.
Important Safety Note
Never buy a bike for a child to "grow into." An oversized bike is difficult to control and dangerous. It's better to buy the right size now and upgrade later.
Kids Bike Size Chart
Use this chart as a starting point. Inseam is the most accurate measurement for bike fit.
| Wheel Size | Height | Inseam | Age* |
|---|---|---|---|
| 12" | 2'10" - 3'4" 86-100 cm | 14-17" | 2-3 years |
| 14" | 3'1" - 3'7" 94-110 cm | 16-20" | 3-4 years |
| 16" | 3'7" - 4'0" 110-122 cm | 18-22" | 4-6 years |
| 18" | 3'9" - 4'3" 114-130 cm | 20-24" | 5-7 years |
| 20" | 4'0" - 4'5" 122-135 cm | 22-25" | 6-9 years |
| 24" | 4'5" - 4'9" 135-145 cm | 24-28" | 8-11 years |
| 26" | 4'9"+ 145+ cm | 28"+ | 10+ years |
*Age is a rough guide only. Always use height and inseam for accurate sizing.
How to Measure for a Bike
Measuring Your Child
Step 1: Measure Height
Have your child stand against a wall without shoes. Mark the top of their head and measure from floor to mark.
Step 2: Measure Inseam
Have them stand with feet about 3 inches apart. Place a book between their legs, spine up, pressed firmly against their crotch. Measure from the floor to the top of the book. This is their inseam.
Step 3: Check Standover
Have your child straddle the bike frame with feet flat on the ground. There should be 1-2 inches of clearance between their crotch and the top tube.
Step 4: Test the Seat Height
When seated, they should be able to touch the ground with their toes (beginners) or the balls of their feet (experienced riders). They should have a slight bend in the knee at the bottom of the pedal stroke.
Too Small Signs
- • Knees hit handlebars
- • Very bent elbows
- • Looks cramped
- • Seat maxed out
Just Right Signs
- • Slight knee bend at bottom
- • Comfortable reach to bars
- • Can touch ground with toes
- • Room to raise seat
Too Big Signs
- • Can't reach ground
- • Stretched to reach bars
- • Difficulty mounting
- • Fear of falling
Types of Kids Bikes
Different bike types serve different purposes and skill levels. Here's what to know about each.
Balance Bikes
Ages: 18 months - 4 years
No pedals - kids push with feet and learn balance first. Most effective way to learn to ride.
- No pedals or training wheels
- Teaches balance naturally
- Low to ground for safety
- Lightweight for easy handling
Pedal Bikes with Training Wheels
Ages: 3-6 years
Traditional approach. Kids focus on pedaling while training wheels provide stability.
- Training wheels removable
- Teaches pedaling motion
- May delay balance learning
- Good for anxious kids
Single-Speed Pedal Bikes
Ages: 4-9 years
Simple bikes without gears. Great for learning and flat terrain.
- One gear - simple operation
- Coaster brake common
- Lower maintenance
- Best for beginners
Multi-Speed Kids Bikes
Ages: 7+ years
Bikes with gears for older kids ready for more advanced riding.
- Multiple gears
- Hand brakes
- Good for varied terrain
- Requires more coordination
Balance Bike to Pedal Bike Transition
Kids who learn on balance bikes typically skip training wheels entirely. When they're comfortable gliding with feet up for several seconds, they're ready to transition. Many can ride a pedal bike within minutes of their first try!
The ideal progression: Balance bike (age 2-3) → Pedal bike without training wheels (age 4-5)
Bike Safety Essentials
Helmet Fit Guide
- Sits level on head, 1-2 finger widths above eyebrows
- Straps form a V under each ear
- Chin strap snug (one finger fits underneath)
- Doesn't rock side to side or front to back
- Replace after any crash, even if undamaged
Pre-Ride Check (ABC Quick Check)
- A - Air: Check tire pressure
- B - Brakes: Test both brakes work
- C - Chain: Chain should move smoothly
- Quick - Quick releases: All secure
- Check - Overall check: Nothing loose or broken
Teaching Your Child to Ride Safely
Basic Rules
- • Always wear a helmet - no exceptions
- • Ride on the right side of the path
- • Stop and look both ways at crossings
- • Use hand signals for turns
- • Stay visible - wear bright colors
Where to Practice
- • Empty parking lots (weekends)
- • Quiet cul-de-sacs
- • Parks with paved paths
- • School playgrounds (after hours)
- • Avoid streets until fully skilled
Frequently Asked Questions
Try Our Bike Size Calculator
Enter your child's height and inseam to get personalized bike size recommendations.
Open CalculatorStay Updated
Get updates, tools, and calculators related to ParentCalc.
No spam, unsubscribe anytime.
Top-Rated Kids Bikes
Featured at Backcountry — 15% off first order
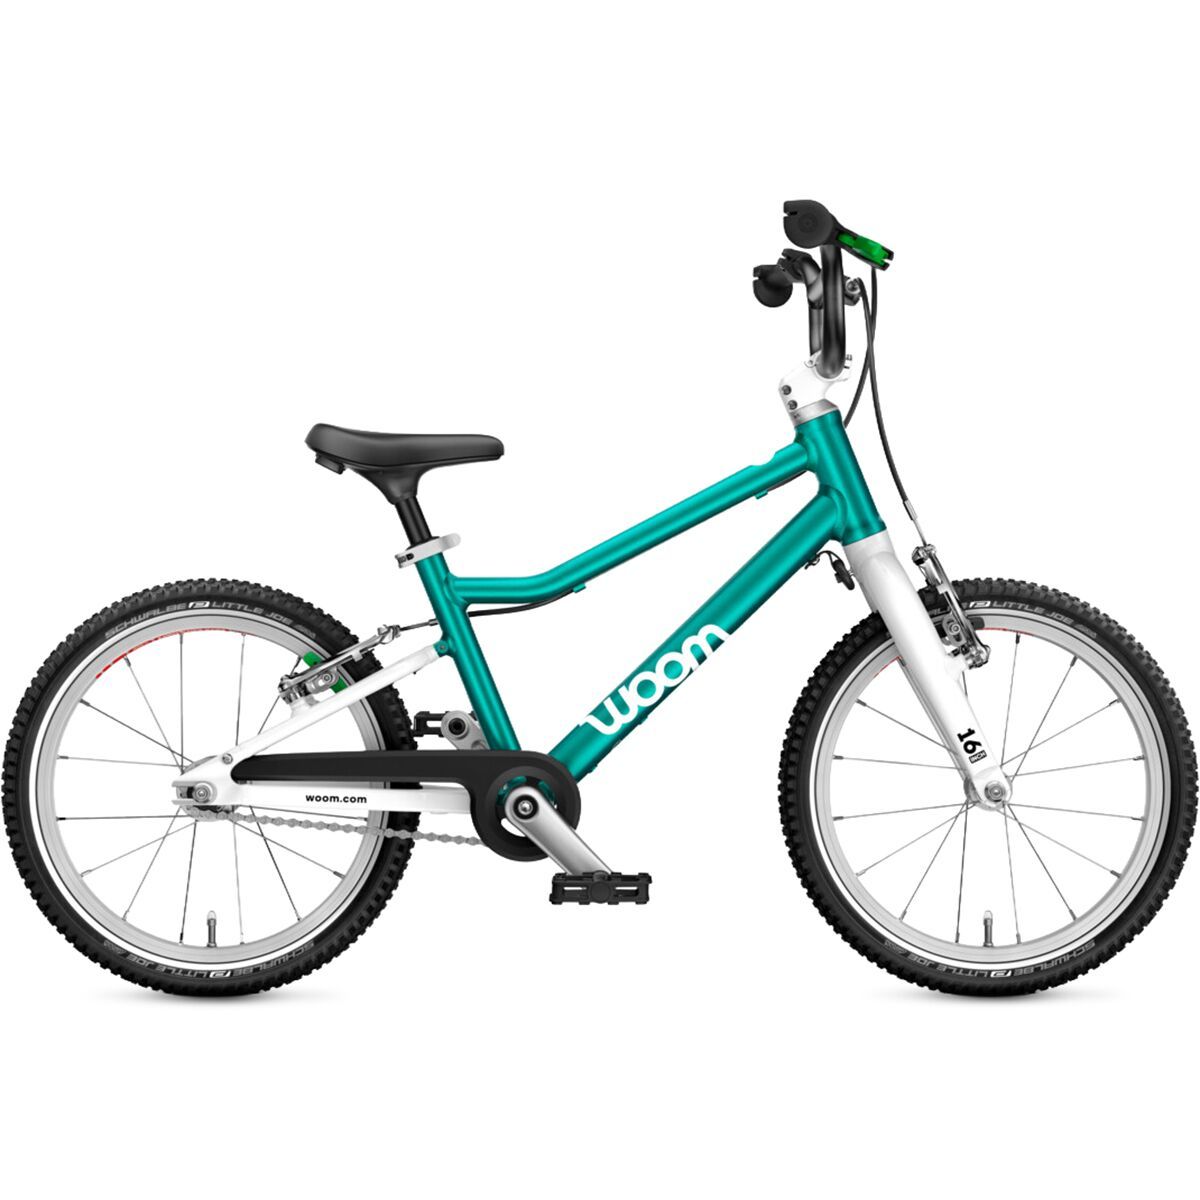
Woom GO 3 16in Bike — Kids
Austrian-engineered kids pedal bike. Ultra-light aluminum, ergonomic.